PRINTING WITH A 3D PRINTER IN 5 STEPS
PRINTING WITH A 3D PRINTER IN 5 STEPS
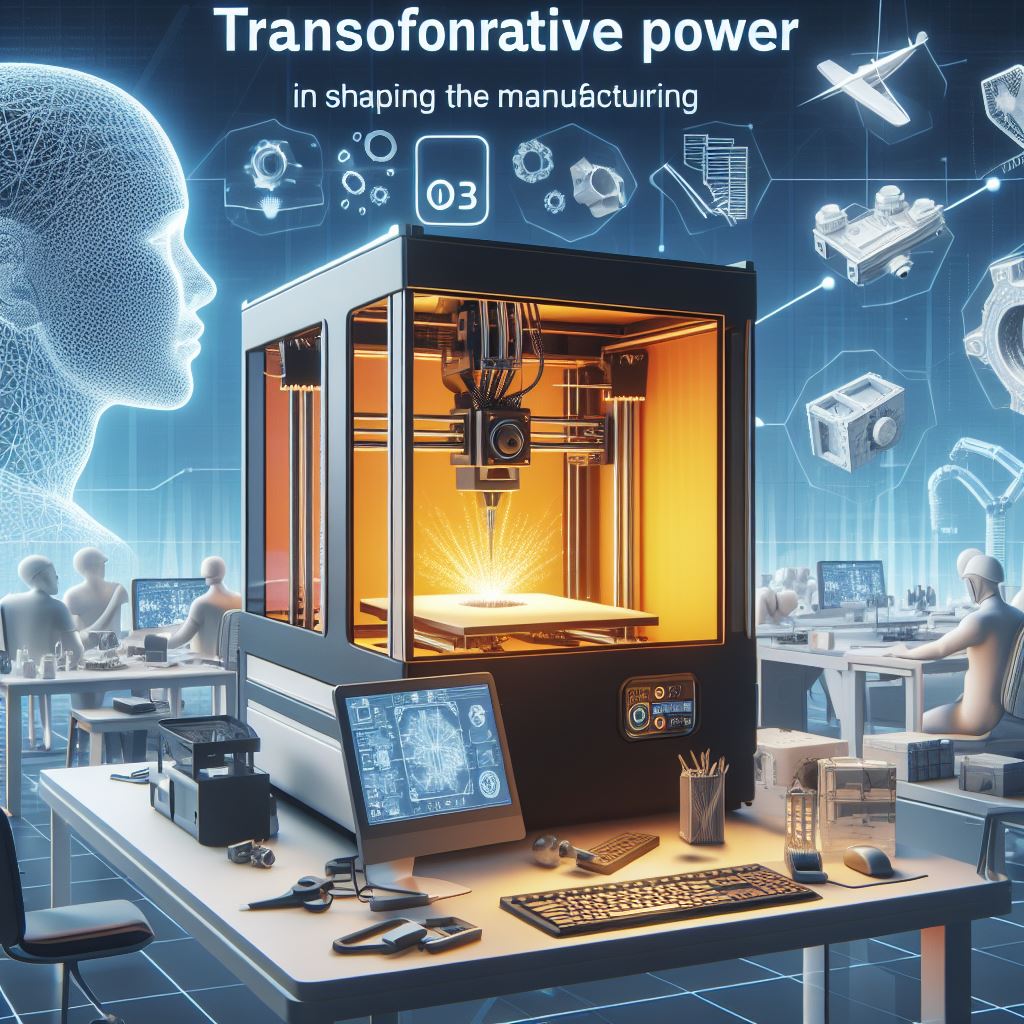
Those who quickly embrace the innovations of the era often benefit the most. Science fiction content is the easiest way to stay updated on these innovations. In recent times, series like 'The Peripheral' and 'Exception' have gained popularity, offering insights into how the future can be lived. These series explore alternative production methods, foreseeing their convergence at a common point—enter the world of '3D Printers.'
Initially daunting but progressively making one feel like a machine engineer, this simple yet highly effective method is poised to take control of the future's production system.
Advantages include:
Preventing waste generation
Shortening production time
Reducing labor errors
Expanding the possibilities of form
Enabling the creation of different products in various sizes
So, how can we swiftly transition to using 3D printers?
Acquire a 3D printer!
Get a small to medium-sized 3D printer according to your budget. The price of the 3D printer seen below is around 5,600 TL. Additionally, you'll need filament as a second material. I recommend PLA filament for its ease of printing and recyclability—PLA can be recycled up to 4 times! During trial and error, be sure to collect any waste generated. To minimize waste, opt for mid to high-range PLA, such as 'Filamix.' Cheap filament breaks like spaghetti, forcing you to constantly disassemble and reassemble the 3D printer!
Download a 3D printer program.
Download open-source programs like 'Ultimaker Cura' or 'Creality Slicer,' which, despite being associated with a specific printer company, can be used with all printers. Their usage is straightforward—input your printer specifications during the installation process, and voila, you're ready to download and print design files!
A 3D printer is not a washing machine!
Be prepared to disassemble, assemble, and adjust! The moment you acquire the printer is when you'll start disassembling and assembling it. You can improve this process by watching YouTube videos. Skipping this part can potentially damage your printer. Additionally, the program you downloaded has settings that you will learn over time as you experiment. However, for the first print, I recommend creating a 4mm print with a 20% infill rate and selecting 'Gyroid' infill. Ensure the nozzle is clean, the bed is level, and the filament is of high quality to achieve pristine prints!
Download a model!
Download free or paid designs from open-source websites like 'Thingiverse,' 'Cults,' and 'Printables.' In the beginning, I suggest downloading simple, less detailed products. Over time, by tweaking printer settings, you can improve yourself and your machine!
Design your own model!
'SketchUp' is my recommended starting point for beginners. Additionally, programs like 'Tinkercad' assist in quick drawing in an online database. Save the drawn model in 'stl' format, complete the printer settings in the program, and print the product. If you aim for professionalism based on your field's needs—whether it's architecture, game design, fashion design, mechanical engineering—you can explore programs like '3dmax,' 'Blender,' and 'Rhino.' Believe that as you understand the printer's working principle, you can achieve excellent results in a short time. Don't give up!